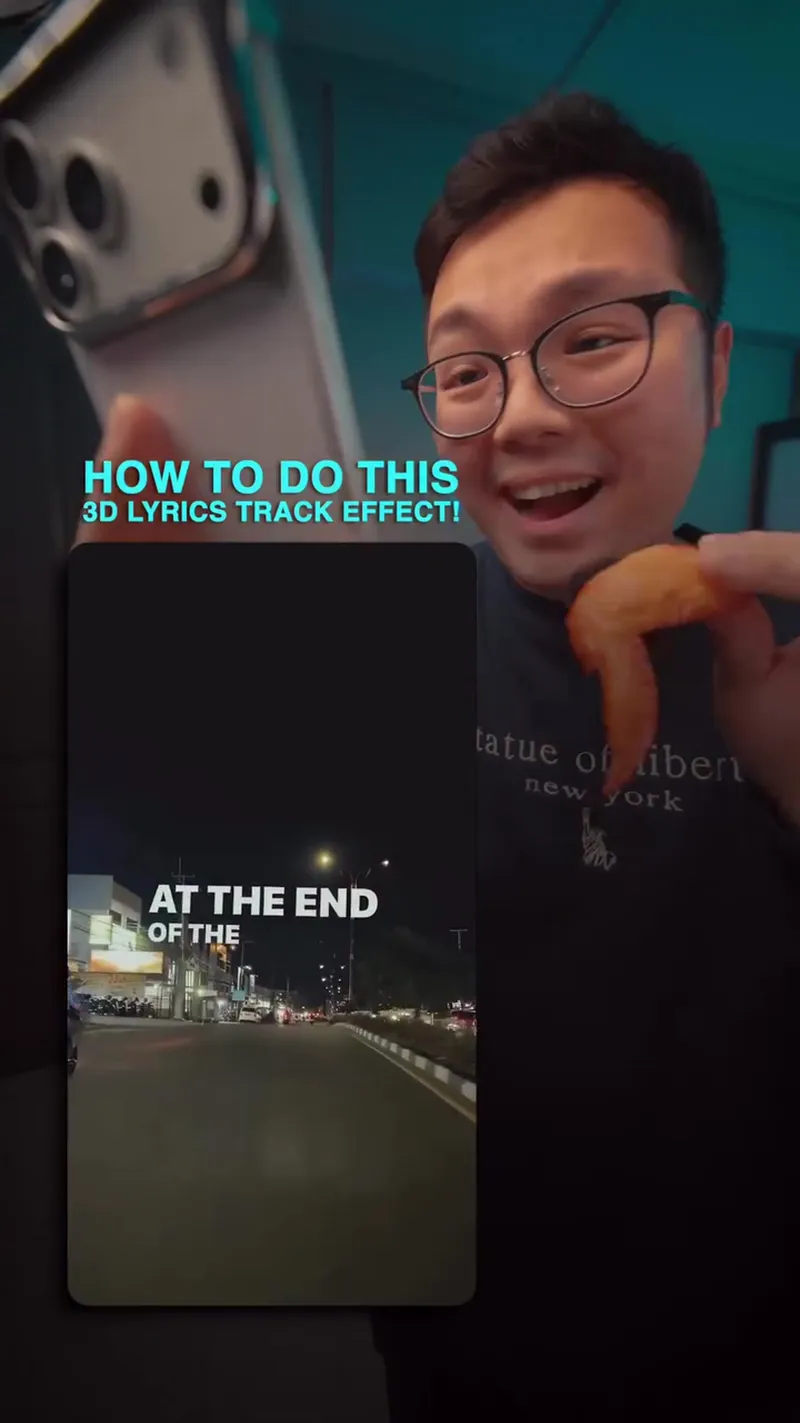
This tutorial teaches viewers how to create professional-looking 3D tracking lyrics directly on a smartphone. It highlights the Motion Ninja app as a superior tool for this effect compared to CapCut, specifically focusing on camera tracking and Z-axis positioning.
Master 3D Tracking Lyrics on Your Phone: Motion Ninja Tutorial
This tutorial teaches viewers how to create professional-looking 3D tracking lyrics directly on a smartphone. It highlights the Motion Ninja app as a superior tool for this effect compared to CapCut, specifically focusing on camera tracking and Z-axis positioning.
- Views
- 1.2M
- Likes
- 58.9K
- Comments
- 367
- Topics
Analysis
Yeah, I love this effect so much. Let's try to do it on our phone.
Yeah, I love this effect so much. Let's try to do it on our phone. Alright. Firstly, film a video of the road. Then open up Motion Ninja. Trust me, it just won't look as good in capcut. Open a new project and import your clip. Hit text and type in your lyrics. Feel free to change the font to whatever you want. Then hit Animation and select Fade for in and for out. Go back and click on your video and hit this little animation icon on the right. Then select Tracking. Hit Start Tracking and when it's done, you'll have these points. Now choose a point that is closest to you and circle around it. Hit Tracking object and select your text. Now you can play with the rotation, rotation, position and size. The most important one is the Z axis on position as it controls whether it's closer or further away from you. After you're done, go back to the main timeline and create another text. Click back on the video and the animation icon. Hit on the tracking layer and choose another point. The word area 2 should appear. Then hit Add Tracking Object and select the second text. Do this for the entire video and you'll get this. Only to see you. When I get you everywhere.
- 01The Enthusiasm Hook
Establish a specific aesthetic or effect you want to recreate and state the device being used.
- 02The Prep and Platform
Give the first physical action and recommend a specific software/tool over a common alternative.
- 03Initial Setup
Walk through the very first menu clicks and basic settings.
- 04The Technical Core
Detail the advanced or specific feature that makes the effect work.
- 05The 'Most Important' Tip
Highlight the one specific setting that determines the quality of the final result.
- 06Workflow Scaling
Explain how to repeat the process for the rest of the project and lead into the reveal.
- 07The Payoff
The final showcase of the completed work.